Disclosure: Seeds for Generations is a part of Amazon Services LLC Associates Program, as well as other affiliate and/or referral programs. If you purchase or opt-in after clicking on these links, at no additional cost to you, we may receive a small commission for making you aware of these important resources.
John Whiting was right. Gardening requires a diverse skillset, and research into many other areas of life outside of botany and biology. In fact, to the serious gardener, gardening actually starts long before you can plant seeds in the ground!
While planning their crops for the upcoming year, many gardeners rely entirely on seedlings grown at a local nursery or chain store. It’s a great way to get started, but it also severely limits your options, forcing you to plant only common varieties according to someone else’s planting schedule instead of your own.
That’s why once you’ve gotten the basics down, or you want to grow heirloom varieties that are 100% organic, you should start your own seedlings. Plant what you want, and you will know exactly what you’re getting and when they’ll be ready. Here’s how to start seeds at home.

How to Start Seeds at Home
Supplies Needed
- Seeds
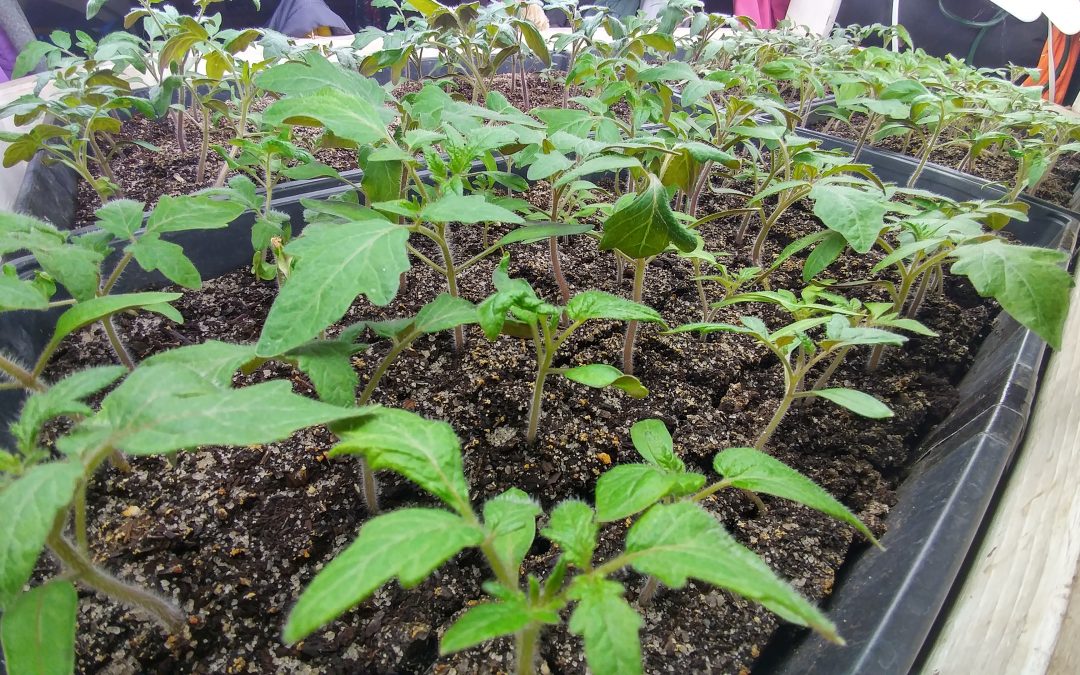
- Containers – most commonly, gardeners use 1020 trays with humidity domes
- Seed starting soil mix
- Labels/way to track plantings
- Watering can or another method of irrigating plants
- Heat mat
- Grow lights (w/timer is especially helpful, though technically optional)
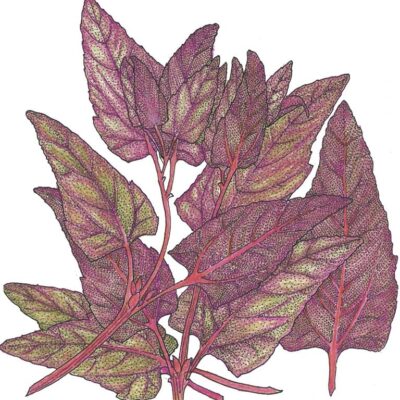
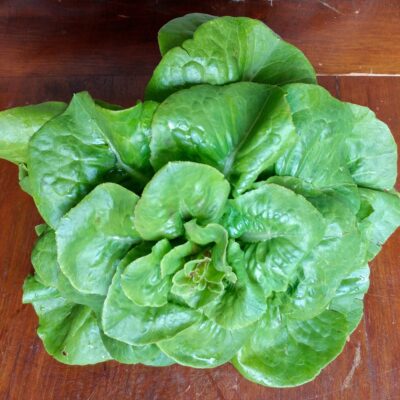
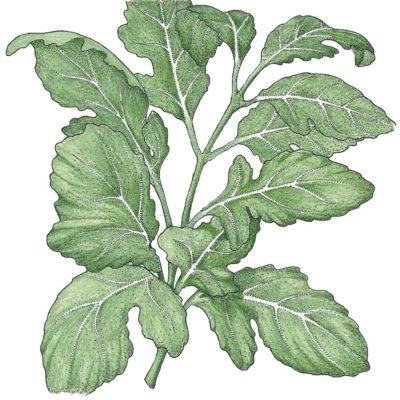
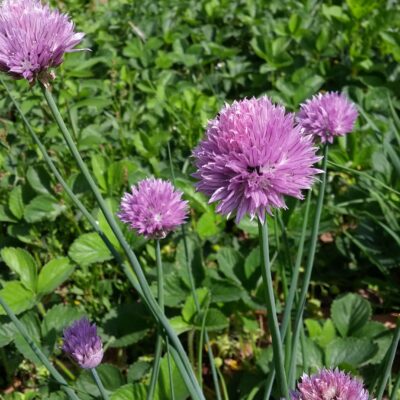
Seeds

Containers


Photo Credit: Steven Depolo on Flickr.
Peat pots are small pots that are made from peat. When you plant seedlings from peat pots, you plant the entire pot with the seedling, since peat breaks down into the soil. Peat pellets are little peat pots that expand when they become moist. (You can also plant the entire peat pellet with the seedlings, like a regular peat pot.)

Quick Tip: As you plant, you’ll also need a method for tracking what you’ve planted where. You can use plant labels or popsicle sticks that can be written on with a marker and then poked into the soil. Grid paper is also very helpful for tracking what you’ve planted in each cell. Don’t take it for granted that you’ll remember! Life gets busy, especially in the spring, and you don’t want to second-guess yourself later. 😉
Soil & Growing Medium
Homemade Seed Starting Soil Mix:
- 4 parts screened compost (screen it through 1/4-inch screen to remove large bits)
- 1 part perlite
- 1 part vermiculite
- 2 parts sphagnum peat moss and/or coir
While purchasing seed starting soil mix in small bags gets expensive, greenhouse supply companies provide 30-40lb bags. Watch for sales (especially year-end sales) on sterilized seed starting mediums. (If you’re using a soil blocker, you’ll use a different mixture. Read more in our pottiong soil & soil block mix post.)

Germination Requirements
Germination requirements will be listed on seed packages, and some seeds have more requirements than others. Strawberry seeds, for example, need very bright light. (Most seeds need light to grow, but there are probably a few plants that require dark conditions instead.)
Also consider required soil temperature and seed treatment. Tomatoes and peppers, for example, need very warm soil, 70-80 degrees! Occasionally, seeds may require soaking, stratification (a period of cold before germination), or scarification before they’ll germinate properly. Rhubarb, and morning glory seeds, for example, need soaked being planted. Though not very common, you’ll occasionally discover seeds with a tough outer shell that must be scratched (“scarified”) before they will germinate properly. This is easily done by rolling the seeds gently in folded sandpaper before planting. (This isn’t a common requirement, but you may run across it with some flower seeds.)
Just remember, your seed packet will usually mention if your seeds need special treatment before planting. Most seeds have a germination rate of 80% or more, but it does depend on how well you follow germination conditions.
Remember that regardless of germination requirements, it’s always better to have too many seedlings than not enough. Don’t be afraid to plant more than one seed per cup/cell/container. If too many seedlings grow, just plant the best seedlings and prune the weakest. You should always allow extra seedlings for transplant shock. And if you end up with too many extra in the end, you can always give them away or sell them!

Temperature

Light
Many gardeners use fluorescent shop lights instead. They’re the cheapest lighting option and you can set them on a timer. (They work great, but they do need to be very close to your plants, within a couple of inches being ideal. Keep in mind you’ll have to adjust them as the plant grows.) You can also purchase commercial grow lights that produce a very bright light, though they are considerably more expensive.
There are many different kinds of grow lights available, including LED lights, which have become more accessible in recent years.
Once you determine what artificial lights you will use, you need a way to exposure your plants to the light. We use a shelving unit or a grow light stand.
Some Quick Tips & Considerations:
- You’ll have to adjust the height of the lighting above the plants. You can do this with screw hooks and chains/paracord. (When your plants are small, they require more light, but you don’t want the plants to actually touch the bulbs either. Be careful and think ahead.)
- Seedlings should get 16 hours of light/day to get the best start. This is where a timer comes in handy, especially if you’re not home or busy enough where you think you’ll forget.
- Cover your seed trays with plastic dome covers, or the entire grow shelf with plastic, to help control moisture and humidity levels.

Moisture
Use a pump sprayer or automated tools found a greenhouse supply company. One such tool uses a long, 8-foot PVC tube with emitters every foot or so. This is automatic, though you may have to check and adjust it from time to time. You can also use drip irrigation kits set on timer to flood the trays, dripping for 20-30 minutes at a time. You could even use a spray bottle! Or just a plain ol’ watering can works too.
Whatever system you use, you should always water from the base of the plant to prevent damping off.
Conclusion
You will need to order a few basic supplies, including seeds and containers, so shop around locally or online and see what you like best before you start seeds at home! Once you get them up and growing, you might be surprised just how easy it is to grow your own seedlings at home.
Read the Whole Seed Starting Series!

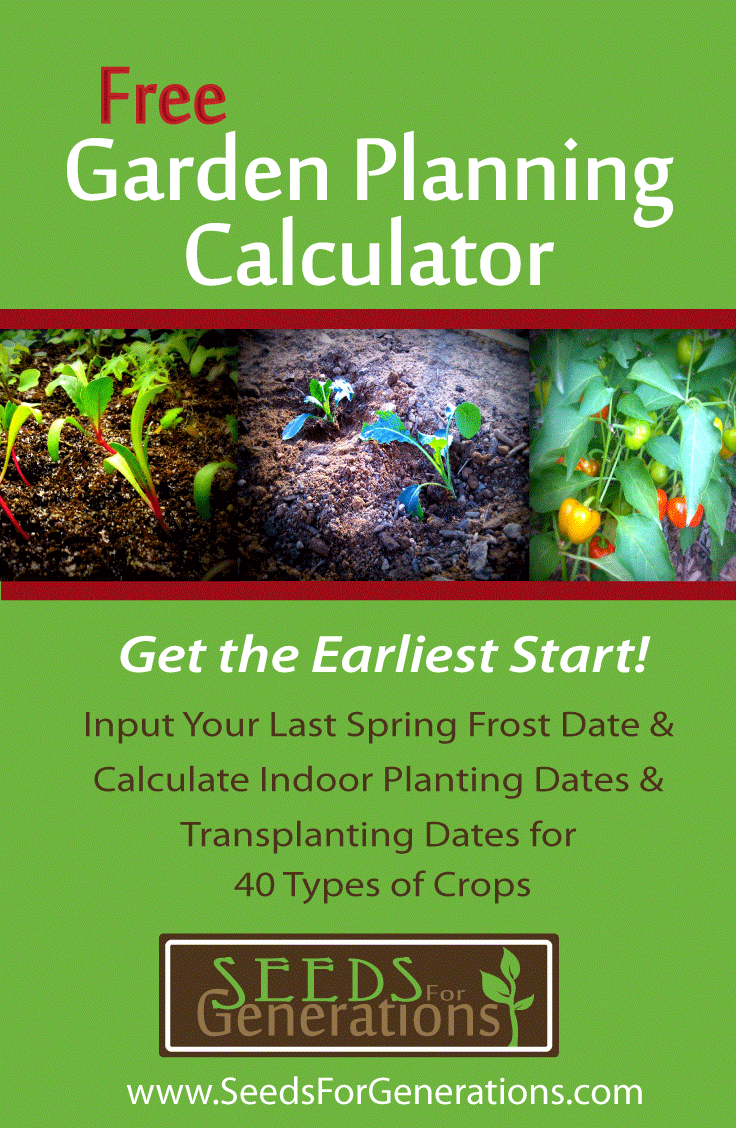
- How to Calculate Your Garden Planting Dates
- How to Choose Garden Seeds
- How to Start Seeds Indoors: Seed Starting Supplies
- Homemade Potting Soil Mix
- How to Care for Seedlings: Tracking, Managing, & Hardening Young Plants
- Hardening Off Seedlings: How to Move Seedlings to Your Garden
- How to Prevent Damping Off in Seedlings
- Mastering Seed Germination: Tips, Tricks, & Troubleshooting Problems