
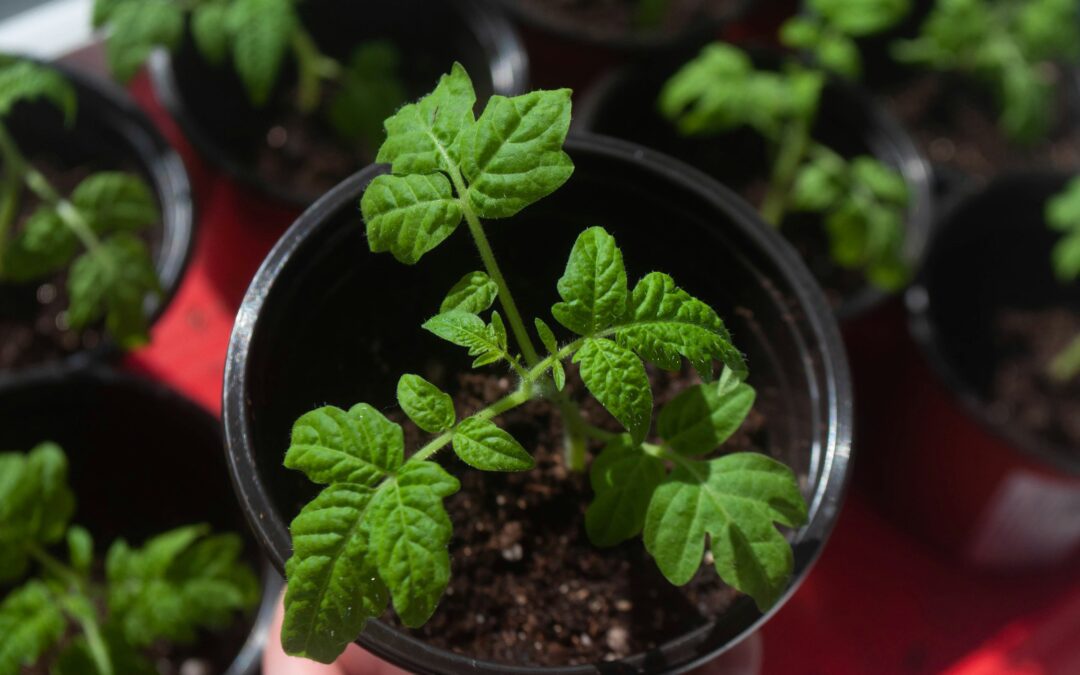
We planted our tomatoes this week that we started indoors back in February.
All 150 of them.
They were huge, so I probably started them a little too early.
I guess I was overzealous in my desire to get an early start. 🙂
I made a video talking about how we plant our tomatoes to give them a great start, and I also mention a bunch of other tips and methods I use to grow great tomatoes.
I also mention one of my favorite garden tools – the garden auger. This attachment is used with a power drill and while often labeled for use planting bulbs, I find it great for digging holes to plant my transplants into. It’s also great for mixing soil amendments.
You can find the Yard Butler Roto Auger that I have here, but I would also recommend you check out the Tanaka Planting Auger Bit, which has a larger, 3 inch wide head, and a bigger shaft with a hex end so it won’t slip under the high torque conditions encountered when using a garden auger on compacted soil.
Trellising Tomatoes
The first thing I do is trellis my tomatoes on cow panels or hog panels. These are basically 4×6 rigid wire structures. I use T-posts to attach them, putting three T-posts and zip tying the panels on each end, in the middle, top, and bottom. This creates a sturdy trellis for the tomatoes to grow on.
Spacing for Optimal Growth
For spacing, I space the tomatoes about 12 to 16 inches apart—one on each side of the center line—and space the tomato plants in each row about 18 inches apart. Using a 16-foot hog panel, I can plant about 11 plants on each side, or 22 plants total per panel. This allows the tomatoes to fill out the trellis area nicely.
Using a Garden Auger for Planting
Once my spacing is set, I use a garden auger to dig holes. This tool is a long shaft attached to a power drill—ideally a heavy-duty drill with a large handle to handle the torque. The auger is about 2 inches in diameter and 3 to 4 inches wide, depending on the model. It screws into the soil like a drill bit and is similar to a post hole auger but smaller, making it great for garden use.
This tool works well for planting bulbs or preparing holes for transplants. For my tomatoes, which need larger holes, I use the auger to mark spots and then dig larger holes with shovels.
Preparing the Soil
Our garden soil in this spot has been improving over the years but is still somewhat poor. To give the tomatoes a good growing medium, I dig a hole and add composted manure mixed with soil and other amendments like lime and minerals.
After digging the holes with the auger or shovel, I add this composted manure-soil mixture into each hole before planting.
Tomato Plant Characteristics and Planting Techniques
The tomatoes I’m planting now are quite mature—I started them earlier than usual this year. Tomatoes root from their stems, which have little bumps that will become roots.
There are two planting methods:
1. Deep Planting: Dig a deep hole and plant the tomato deeply so all stem areas below soil form roots. More roots mean better mineral access and healthier plants.
2. Trench Planting: Dig a shallow trench, lay the tomato plant in it, then bend it up. All buried stem parts spread roots, giving more nutrient access.
I’ll be trying both methods in different beds and will share how they look.
The key is to get as much of the stem below soil as possible to promote strong root systems supporting plant growth.
Watering and Mulching
I plant soaker hoses within 3 to 6 inches of the plants. Around the plants, I rake wood chip mulch mixed with chicken litter from our chickens over winter. This mulch helps retain moisture and feeds the plants as it breaks down with high-nitrogen chicken manure.
Notice small depressions around the plants—this is intentional. I trim off the lower branches of tomatoes so water drips into these areas and flows directly to roots.
If you’re using soaker hoses, cover them with mulch. Exposed wet hoses lose moisture from evaporation due to ambient air temperature. Mulch—whether wood chips, grass clippings, or leaves—shades hoses and acts like a sponge soaking up moisture and releasing it slowly into the soil.
Trellis Setup and Companion Planting
I use two soaker hoses per 4-foot planting bed. The T-posts you see in photos will hold my cow panels (4 feet tall by 16 feet long) that serve as trellis structures.
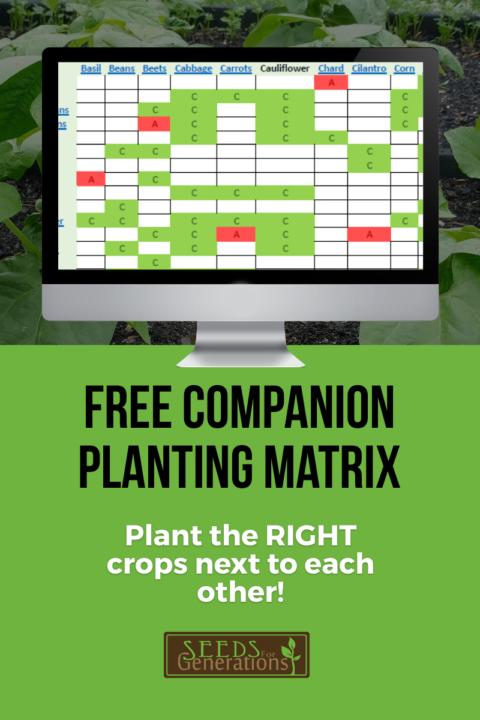
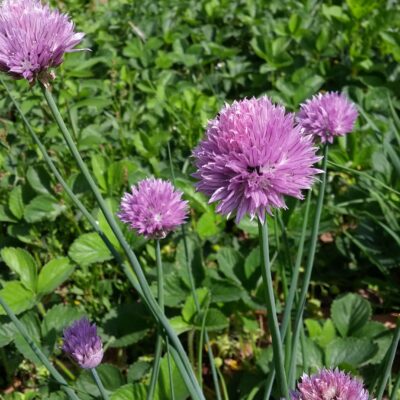
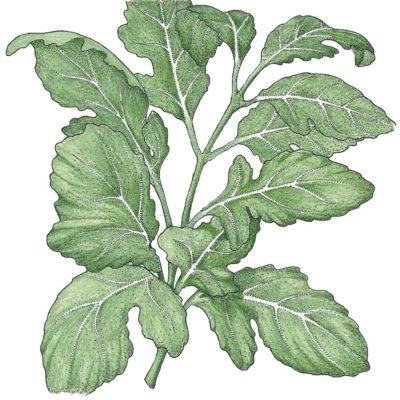
Alongside soaker hoses, I plan to plant basil in this bed—a great tomato companion. Onions are another good companion plant choice. Companion planting around tomatoes is beneficial for multiple reasons.
Pruning for Healthier Plants
I recommend pruning lower branches once tomatoes are established—not all at once but gradually as plants grow taller and develop more upper leaves.
I prune off leaves on lower branches for at least the first couple of feet of tomato vines to promote airflow around and under plants. Better airflow reduces risks of blight (early or late), which can devastate your crop.
We have dealt with early blight over the last two years but aggressive pruning has kept it under control. I remove leaves that show signs of blight immediately.


Putting wood chips around and covering the soaker-hose is an EXCELLENT idea, as well as depression around the plants so the water pools towards the roots. Nice job. I always learn something from you!
Thank you for this video. Quite informative!