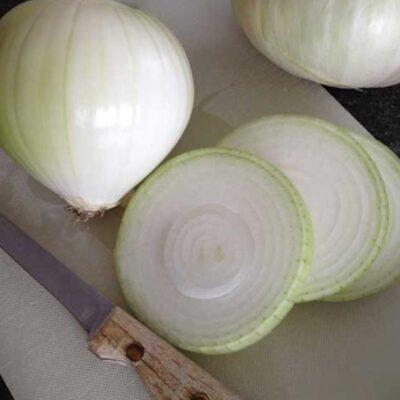
Onions are an essential ingredient in so many different cuisines, so there’s a good chance you use a lot of them in your family’s cooking already. What many gardeners don’t realize, however, is that onions require starting early in the season. If you want to grow your own onions, you need to get started quickly. Welcome to our guide showing how to grow onions in your garden this year!
Before We Begin: Understanding Onion Growth Cycles
Onions, belonging to the Allium genus, undergo distinct growth stages essential for their development. Understanding these growth cycles is crucial for maximizing your onion harvest.

So…what’s the difference between Long Day, Short Day, and Intermediate Day onions?
While shopping for onion seeds and plants, you may have run across language like “long day” and “short day” while referring to onions. What in the world does this mean?
Well, onions require sunlight to form bulbs, with different types of onions requiring different amounts of light for optimal bulb production. Long day onions require 14-16 hours of sunlight, while short day onions require 10-12 hours. You may also see intermediate day onions, which require 12-14 hours of sunlight.
Here’s a comparison:

Short day onions are planted in the southern states, where they mature in 110 days. (They can also be planted further north; harvested onions will just be smaller.) These need 10-12 hours of sunlight/day to bulb.

Intermediate day onions are planted in the middle of the US, where they mature in 110 days. They need 12-14 hours of sunlight/day to bulb. These are typically the sweetest onions.

Long day onions are planted in the more northern states. They need 14-16 hours of sunlight/day to bulb. These are the best producers of long-term storage onions.
Growing Conditions for Onions
Onions thrive in well-drained soil rich in organic matter. They prefer slightly acidic soil with a pH between 6.0 and 7.0. Select a sunny, well-drained location in your garden for planting onions. Avoid areas prone to waterlogging to prevent rot and disease. Also ensure that wherever you plant your onions in the garden, they receive full sun exposure (at least 6-8 hours daily) to promote robust growth and proper bulb formation.
As for temperature, onions prefer growing in cool temperatures, somewhere between 55 degrees F to 75 degrees F.
When to Plant Onions in the Garden
You should plant onions in early spring as soon as the soil is workable. You can directly plant sets or transplants, while onion seeds should be started indoors 8-10 weeks before the last frost date and then transplanted later.

How to Grow Onions from Seed
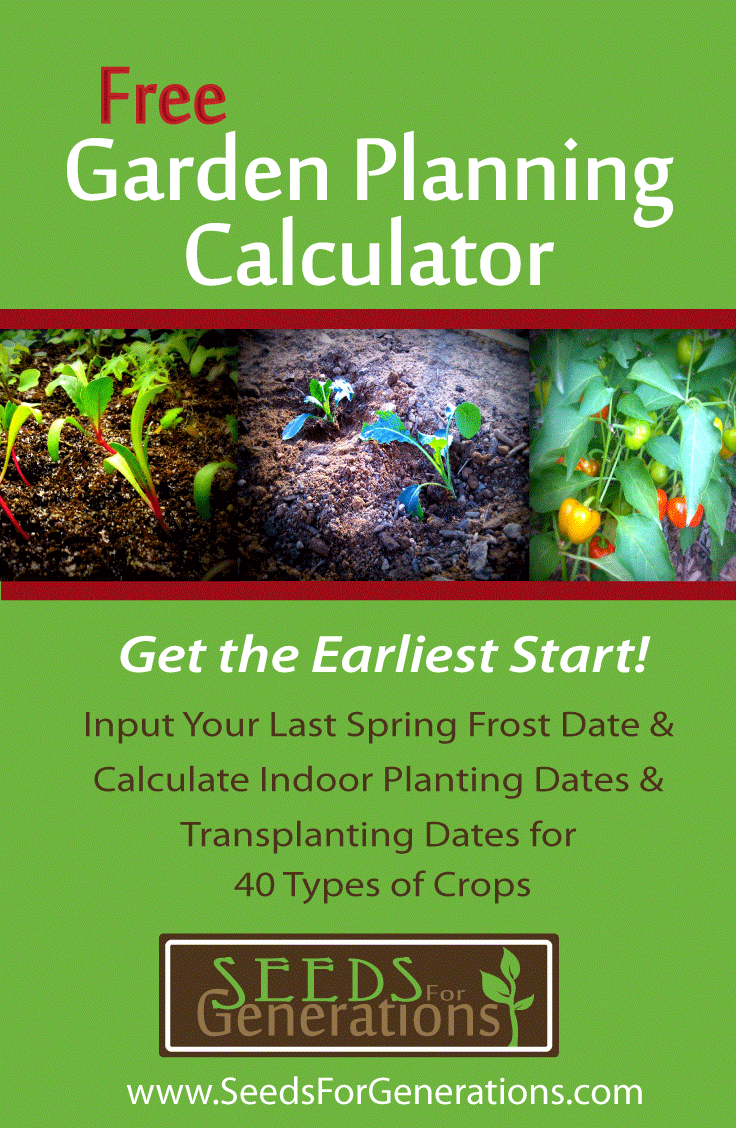
Not sure when to plant your seeds?
Enter your last frost date into our Garden Planning Calculator here and see when you need to start your onions. Once you’ve gotten your target start date, you can begin planting!
When you grow onions from seed, you have a more extensive variety selection available. It’s also very cost-effective. Unfortunately, it also takes more patience and effort to get your seedlings into the garden, and the seedlings are more susceptible to environmental factors. Starting onions from seed is harder for new growers who don’t have much experience.
The Process of Growing Onions from Seeds
Prepare Your Setup
Prepare a place to start your seeds. Many people use a sunny windowsill, while others put together a grow light shelving unit.
Gather your supplies:
- Onion seeds
- Seed starting soil mix
- Containers, such as seed starting trays
- Light source
- Heat source
- Moisture source
You can learn more about supplies & seed starting requirements in our training here and blog series here.
Plant Your Onion Seeds
Once you’ve calculated your dates and gotten your setup prepared, it’s time to get planting!
- Start with seed starting medium. You want to add a little moisture, so it is lightly wet (but NOT soggy or muddy).
- Sprinkle onion seeds on top of the soil. Don’t overplant; you don’t want them to crowd each other.
Cover the seeds with about 1/8″ of soil on top. - Gently push down the soil with your hand. Supply water if needed. Cover the tray.
- Place in a warm environment to sprout, watering whenever surface is dry. Maintain a temperature around 70°F.
- When seedlings emerge, remove the cover. Remove the heat and supply light.
- When onions are 5″ tall, snip them back to 2″.
- Harden off seedlings before transplanting onions into a place in your garden that receives lots of sun and provides well-draining soil. (Transplant approximately 3-4″ apart, following directions on the seed packet.)
Why Did My Onion Seeds Not Germinate?
Common causes of onion seeds not germinating include using seed that’s old (germination rates start falling on onion seeds that are over 1 year old – they are one type of seed that doesn’t store well in the long-term), growing in soil or locations where the temperature is too cool, and not providing enough light.

Photo Credit: cristina.sanvito on Flickr (CC by 2.0 DEED)
How to Grow Onions from Sets
Onion sets are small, dormant bulbs that are little baby onions. They are produced by planting onion seeds close together, allowing them to grow into small bulbs. These sets are then harvested and dried, ready to be replanted by gardeners. These are a convenient way to grow onions as they already have a headstart in their growth compared to planting from seeds. They are popular among gardeners for their ease of planting and quicker time to maturity compared to growing onions from seeds.
The Process of Planting Onion Sets
Before planting onion sets, prepare the soil by loosening it with a garden fork or shovel. Ensure the soil is well-draining and free of any large clumps or debris.
- Plant onion sets in early spring, once the soil is workable and temperatures are consistently above freezing.
- Dig furrow rows about 12″ apart. Place each onion set in the soil with the pointed side facing up, about 1 inch deep and 4-6 inches apart in rows.
- Cover the sets with soil and gently firm them in place to ensure good soil-to-set contact.
- Water the newly planted onion sets thoroughly after planting to help them establish their root systems.
- Keep the soil consistently moist but not waterlogged throughout the growing season.
- Mulch around the onion sets to retain moisture and suppress weed growth.

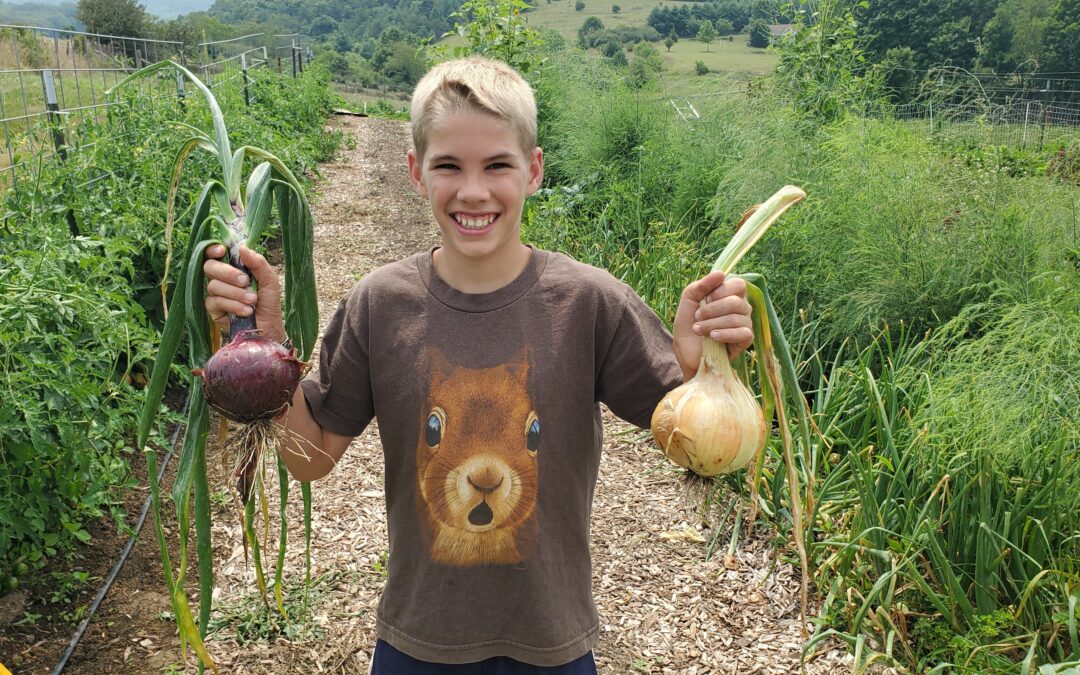
How to Grow Onions from Plants
Onion plants or “starts” are young onion plants that are ready for transplanting. We use onion plants on our homestead most often, far more often than planting from seed, since we grow so many onions for our personal use. It just works better!
The Process of Planting Onion Plants
- Choose healthy onion starts from a reputable source. (Shop onion plants here.)
- Ensure the soil is loose and crumbly for optimal growth.
- About 4-6 weeks before last spring frost, dig 4” x 4” trench. Line furrow with fertilizer and then a layer of soil.
- Plant onions on the edge of the trench on both sides, putting them 1” deep and using proper spacing for the variety (at least 4” apart). We usually plant 2 onion plants per planting spot to get more onions in each bed – they will grow away from each other as they mature.
- Water after planting.

Caring for Onion Plants in the Garden
Onions require regular watering, especially during dry spells. Ensure the soil remains moist, but also not soggy. You should also fertilize onions with a balanced fertilizer every 2-4 weeks to promote healthy growth. Avoid over-fertilizing, as this can lead to soft bulbs.
As the onions grow, you can also thin them out to allow proper spacing for bulb development. Don’t waste them! Use the thinned onions in your cooking.
Tips for Growing Big Onions
Looking to grow larger onion bulbs in the garden? Here are some quick tips:
- Provide adequate space for bulb development. Crowded onions will be smaller. We typically plant them in pairs spaced a few inches apart, so they have room to grow away from each other
- Regularly weed to prevent nutrient competition with the onion plants.
- Mulch around plants to help keep onions from drying out too quickly.
- Ensure consistent watering, especially during dry spells. Dried out onions won’t grow large.
- Consider side-dressing with nitrogen fertilizer mid-season for optimal growth.

Best Practices for Organically Managing Common Pests and Diseases in Onions
Onions aren’t immune from pests and diseases. Here are some of the most common issues that could attack your onion crop:

Onion Thrips (Thrips tabaci)
Onion thrips are tiny insects that cause silver streaks on leaves and stunted growth. If you see onion thrips, you can control them by introducing predatory insects like ladybugs or using insecticidal soap or neem oil to control infestations.

Photo Credit: Rasbak at Dutch Wikipedia (CC BY-SA 3.0)
Onion Maggots (Delia antiqua)
Onion root maggot larvae feed on onion roots, causing wilting. To prevent this pest, keep your garden clean, use yellow sticky traps, and apply diatomaceous earth around your plants.

Aphids
Aphids are small insects that suck sap from plants, causing yellowing and distortion. If you find aphids on your onions, spray plants with a strong stream of water, introduce ladybugs or lacewings. We have a whole article on controlling aphids here.

Cutworms
When you have cutworms on your onions, the larvae cut through onion stems at soil level. What’s the solution? Place collars around young plants, handpick cutworms at night, or use biological control methods like Bacillus thuringiensis (Bt), a bacterium that’s used for controlling worms.
Common Diseases for Onions

Downy Mildew
With downy mildew, you’ll notice yellow spots on leaves that turn into gray mold. Prevent mildew by improving air circulation, avoiding any overhead watering, and applying copper-based fungicides preventively.
Botrytis Leaf Blight
With botrytis leaf blight, you’ll notice grayish-white lesions on leaves leading to leaf death. To get this under control, remove infected plant parts, promote good airflow, and use fungicidal sprays if necessary.
Pink Root
Aptly named, this disease leads to a pink discoloration of onion roots causing stunted growth of the plant. The best way to avoid this problem is to pick resistant onion varieties, practice crop rotation, and ensure well-drained soil for your onion plantings.
Fusarium Basal Rot
Fusarium basal rot is a fungal disease affecting bulb base causing rot and decay. If you run into this disease, avoid planting onions in the same area for several years and practice good sanitation.
Onion White Rot
Onion White Rot is identified from white fluffy growth on bulbs and roots leading to plant decline. If your onions show signs of this disease, destroy infected plant material, solarize the soil to kill pathogens, and plant all future onions in well-drained soil.

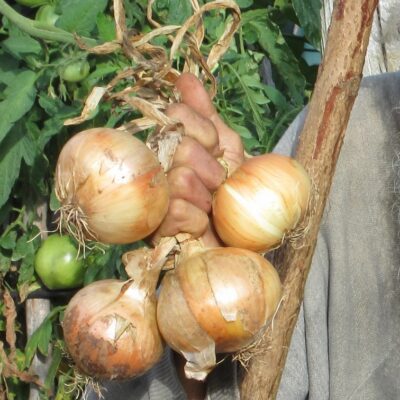
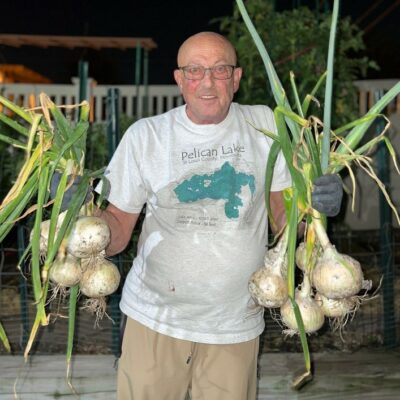
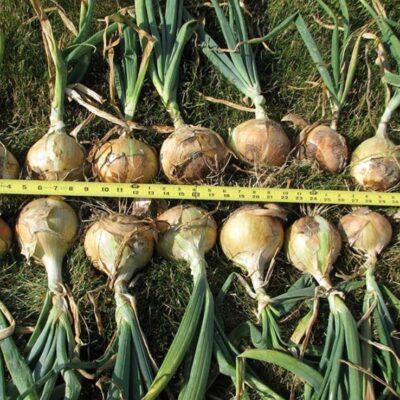
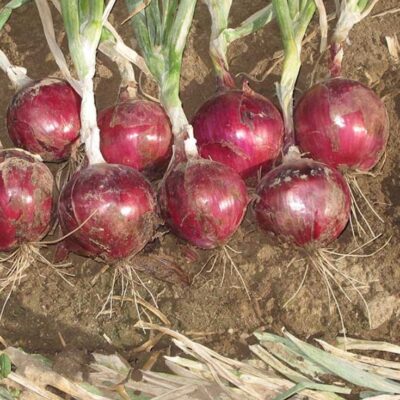
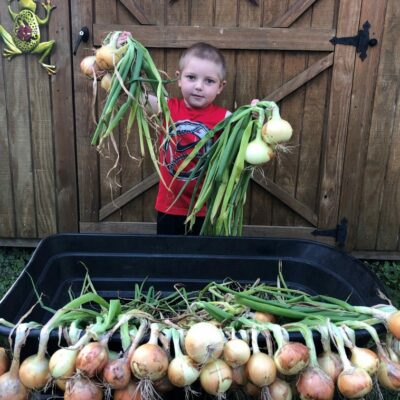
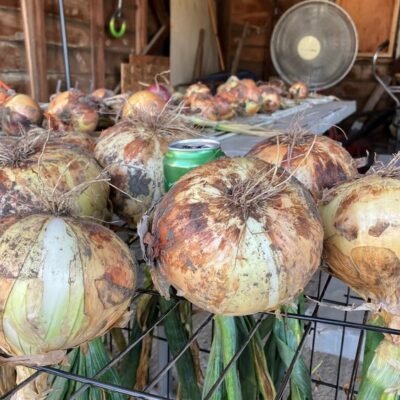
How to Know When Onions are Ready to Harvest
When the tops of onion plants turn brown or yellow and fall over, onions are ready to harvest. Pull (do not dig) early in the morning on a sunny day. Dry the onions in the sun for a few days before curing.
How to Cure Onions for Storage
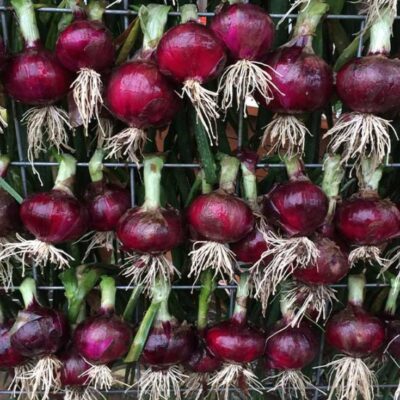
Curing is what allows onions (as well as a similar crop, garlic) to store well for longer periods of time. To cure, lay harvested onions in a single layer in a well-ventilated, dry area. We put rows of boards on sawhorses and hang the onions on them.

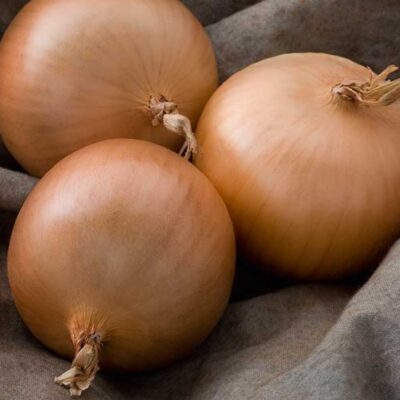
Allow onions to cure for 2-3 weeks in a dry shaded space until necks are completely dry and papery. Once cured, trim roots and tops, leaving 1-2 inches of stem attached. Store cured onions in a cool, dry, dark location with good air circulation.

When properly cured and stored, onions can last up to 6-8 months in storage. (Storage length does vary somewhat depending on the variety, as some onion varieties are prized for being better for storage than others.) Regularly inspect stored onions for signs of spoilage and discard any rotten bulbs promptly.
How to Grow Onions Conclusion
You are now equipped with all the knowledge needed to successfully grow organic onions in your garden! By understanding onion growth cycles, selecting suitable varieties, providing optimal growing conditions, and following best practices for cultivation and harvest, you are on track to enjoy a plentiful harvest of fresh and flavorful organic onions.
-
Sale!

Onion Plants, Intermediate Day Mix
$15.30 Add to cartQuick View -
Sale!
Onion Plants, Yellow Spanish
$7.20 Add to cartQuick View -
Sale!
Onion Plants, Sterling
$7.20 Add to cartQuick View -
Onion Plants, Walla Walla
$8.00Quick View×Subscribe to get notified when this product is restocked.
-
Onion Plants, Red River
$8.00Quick View×Subscribe to get notified when this product is restocked.
-
Sale!
Onion Plants, Red Zeppelin
$7.20 Add to cartQuick View -
Onion Plants, Candy
$8.00Quick View×Subscribe to get notified when this product is restocked.
-
Onion Plants, Patterson
$8.00Quick View×Subscribe to get notified when this product is restocked.
-
Sale!
Onion Plants, Red Candy Apple
$7.20 Add to cartQuick View -
Sale!
Onion Plants, Ailsa Craig
$7.20 Add to cartQuick View -
Sale!
Onion Plants, Redwing
$7.20 Add to cartQuick View -
Onion Plants, Super Star
$8.00Quick View×Subscribe to get notified when this product is restocked.